How To Set Up a School Volleyball Program
Volleyball is a strong fit for school programs. It can be played indoors or outdoors, run in small groups or full teams, and modified for different skill levels, all while keeping students active and engaged. But getting a school volleyball program off the ground takes more than putting up a net and handing out gear. The format, equipment, space and student experience all affect how well the program runs. In this guide, we look at how to start volleyball at school with a clear plan for equipment, formats and program growth.
Step 1: Define the type of school volleyball program you want to run
Before ordering equipment or planning sessions, schools should decide what type of program they want to run. This will shape the court setup, session format, equipment list and level of supervision required.
A school volleyball program may be designed for:
- PE curriculum lessons
- Lunchtime sport
- After-school training
- Interschool competition
- House sport
- Modified games for younger students
- Beach volleyball or outdoor activities
The format should match the age, confidence and experience of the students involved. Primary schools may focus on modified games, basic movement, catching, throwing and simple rally activities. Secondary schools may move towards rotations, serving, attacking and gameplay.
Participation numbers also matter. A lunchtime program may need fast, simple games that rotate students through quickly, while a competitive program may need more structured drills, team positions and regular training time. The clearer the program format is from the start, the easier it becomes to choose the right school volleyball setup and keep sessions organised.
Step 2: Choose age-appropriate volleyball formats
For schools working out how to start volleyball at school, it helps to begin with formats students can actually manage before moving into full gameplay.
Volleyball can be customised to suit different ages, abilities and confidence levels. This is especially useful when introducing the sport to students who have not played before. For younger students, start with simple formats that reduce pressure and keep the ball in play. This may include:
- Catch-and-throw volleyball
- 2v2 or 3v3 games
- Lower net heights
- Softer balls
- Smaller court areas
- Short rally challenges
- Serve-from-closer activities
These formats help students practise movement, timing, communication and basic control without making the game too difficult too early.
For older or more experienced students, schools can progress to 4v4 or 6v6 games, standard serving rules and more advanced skills. This gives them a clear pathway from beginner participation to competitive play.
Step 3: Invest in high-quality volleyball equipment
The right equipment makes volleyball easier to teach, safer to manage and more enjoyable for students. Schools should choose gear based on the playing area, student age group and how often the program will run.
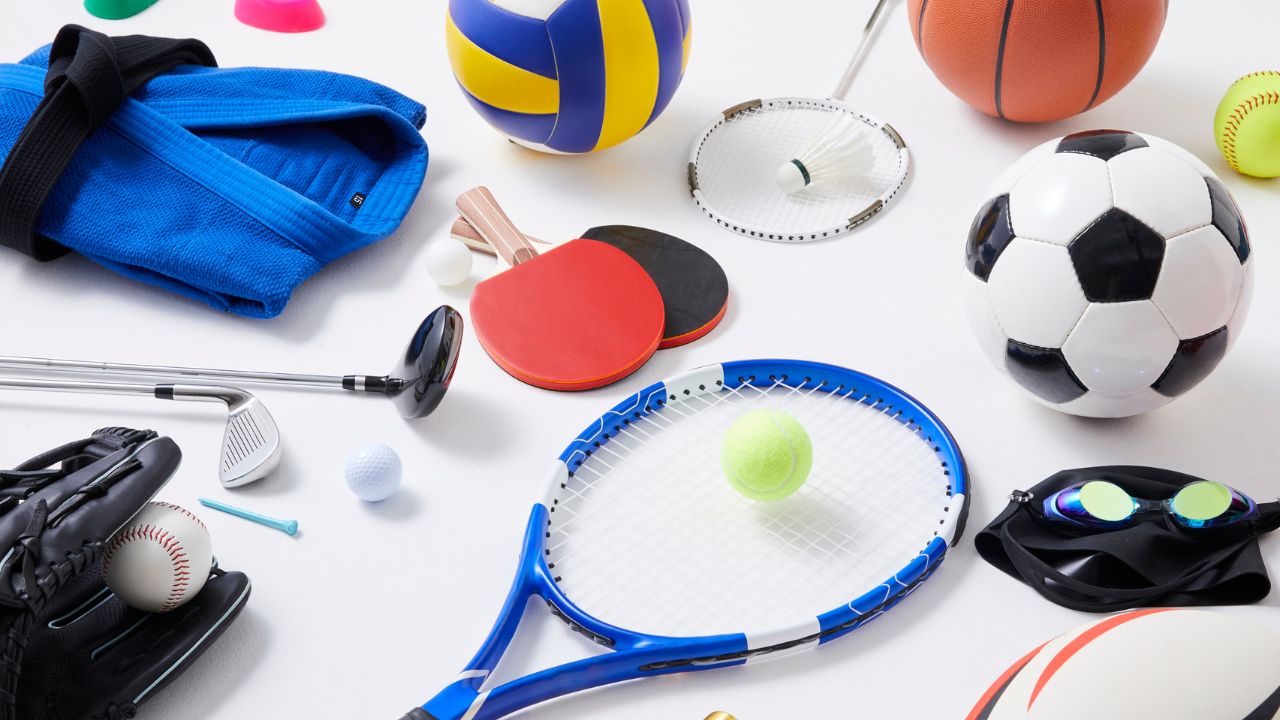
A basic school volleyball setup may include:
- Volleyball nets and posts
- Indoor, outdoor or beach volleyballs
- Soft or modified volleyballs for beginners
- Boundary markers or court lines
- Volleyball packs and kits
- Knee pads or protective accessories
- Ball storage bags, racks or cages
- Scoreboards, whistles and coaching tools
For schools starting from scratch, volleyball packs and kits can make setup easier because they bring key items together. For schools expanding an existing program, nets, posts, balls, accessories and storage can be added based on participation numbers.
Step 4: Build a 6- to 8-week volleyball rollout
A structured rollout gives students time to learn the sport properly. It also helps teachers keep sessions focused and progressive.
Here is a simple 8-week model to adapt:
Weeks 1 to 2: Introduction and movement
Start with basic movement, court awareness and ball familiarity. Use soft or modified volleyballs where needed. Activities can include partner passing, simple catching games, movement drills and short rally challenges.
The focus should be on participation and confidence rather than perfect technique.
Weeks 3 to 4: Core skills
Introduce forearm passing, setting, serving and communication. Keep groups small so students get more touches on the ball. Use stations to manage larger classes and reduce waiting time.
At this stage, modified rules can help keep rallies active. For example, allow one catch per rally or use underarm serving from a closer distance.
Weeks 5 to 6: Small-sided games
Move into 2v2, 3v3 or 4v4 games. Smaller teams give students more involvement and make it easier to understand positioning. Teachers can introduce basic scoring, rotations and teamwork. The aim is to connect skills to game situations without overwhelming students.
Weeks 7 to 8: Full games and review
Students can progress into larger games or full volleyball rules where appropriate. This is also a good time to introduce class tournaments, house sport or lunchtime challenges.
Review the program by looking at participation, skill development, equipment use and student feedback.
Step 5: Plan for safety and supervision
Before each session, check that the court, equipment and movement areas are ready. Teachers should consider:
- Enough space around the court
- Safe movement between groups
- Proper setup and pack-down of nets and posts
- Use of softer balls for beginners
- Appropriate footwear for indoor or outdoor play
- Clear rules around diving, collisions and net contact
Step 6: Measure success and identify areas for improvement
Once the program is running, schools should review what is working and where adjustments are needed. Useful areas to track include student attendance, skill improvement, equipment use, teacher feedback and interest in future sessions or competitions.
If participation is growing, the program may need extra balls, more court time, additional training groups or a larger playing area. If students are improving quickly, teachers may be able to introduce more skill-based drills or competitive formats.
If numbers are low, schools may need to adjust the format or promote sessions more clearly through PE classes, lunchtime notices, house sport updates, student leaders and school newsletters. It may also help to lower the entry point for beginners by using modified games, shorter sessions or come-and-try activities before moving into more structured play.
Get your school volleyball setup ready with Buffalo Sports
The best school volleyball programs rely on equipment that keeps gameplay consistent and students motivated to compete. Backed by over 40 years of experience, Buffalo Sports supplies durable, high-quality volleyball equipment for indoor and outdoor games. From essential training gear to beach volleyball nets and sets, we’ve got the right sporting gear for schools, clubs and individuals nationwide.
Schools can also set up an account to make purchasing and reordering easier across the year. Reach out today to request a quote and find the right volleyball essentials for your program.